Wide Stair nosing for bricks and pavers
Wide stair nosing 98 mm tread
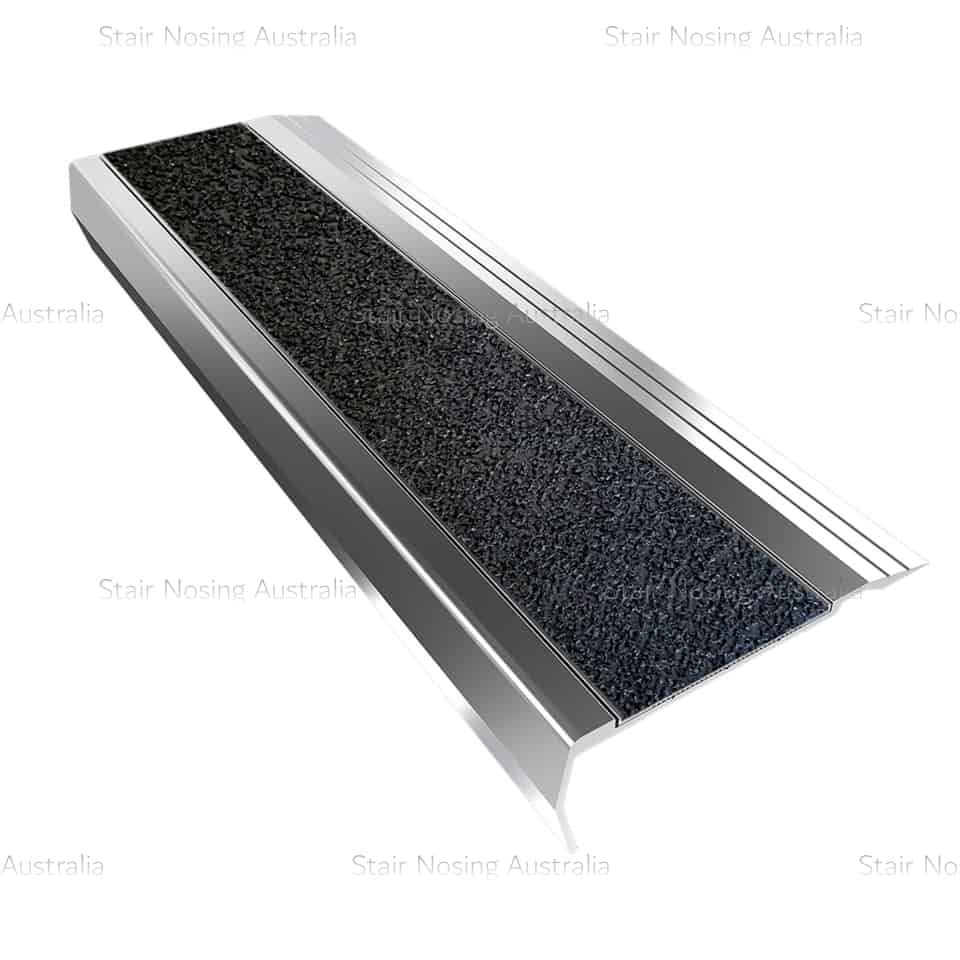
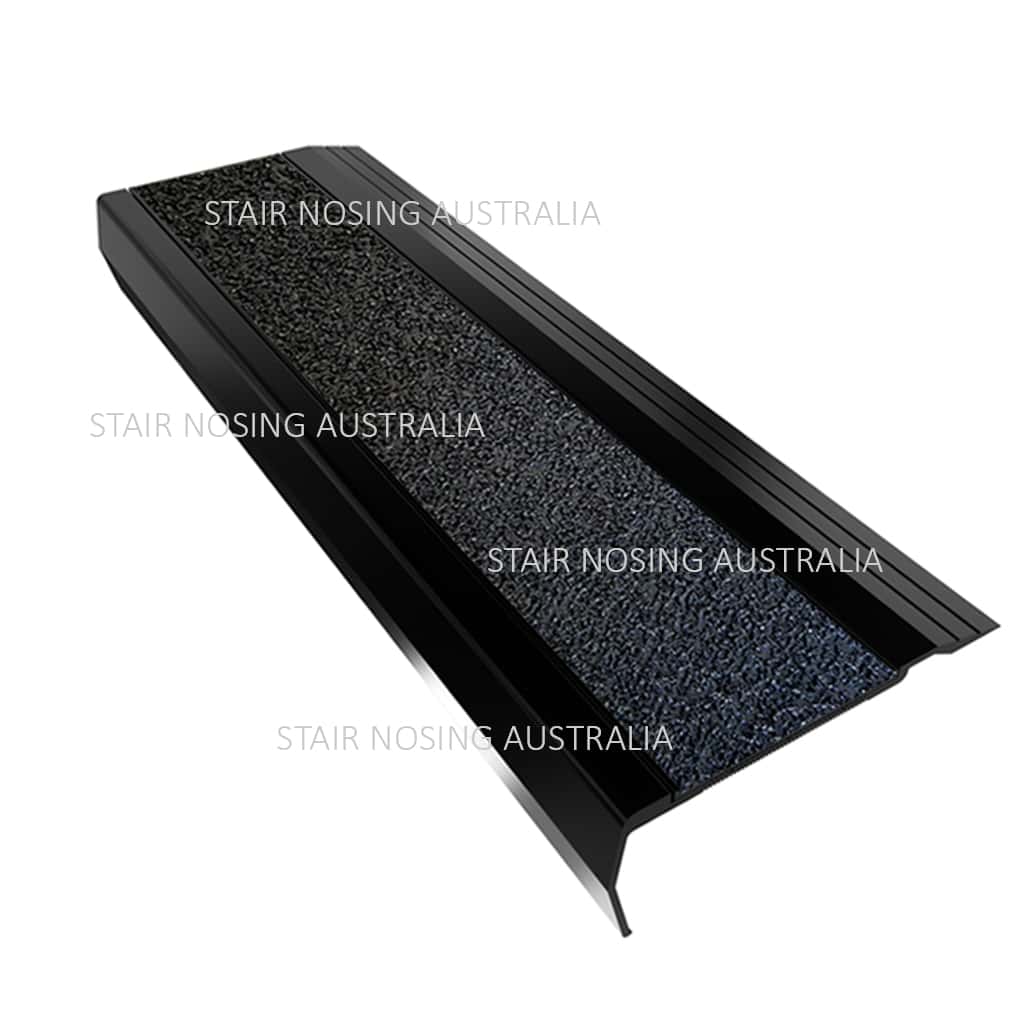
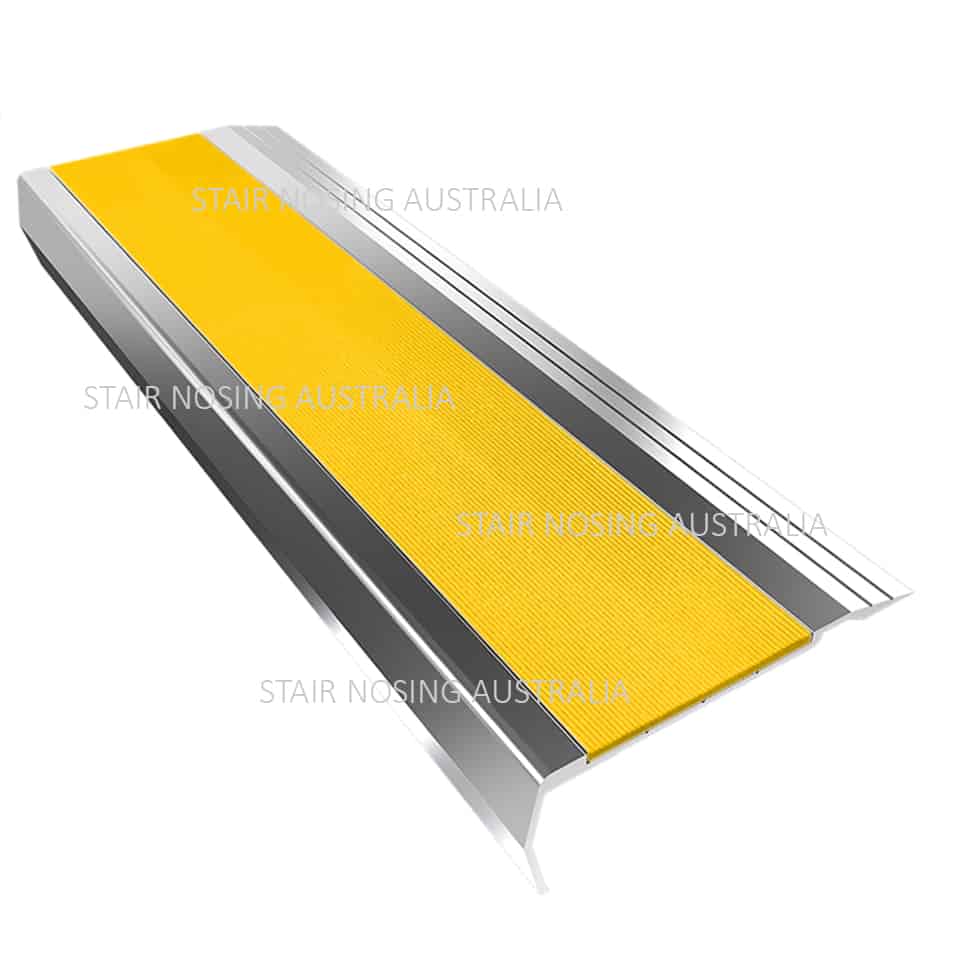
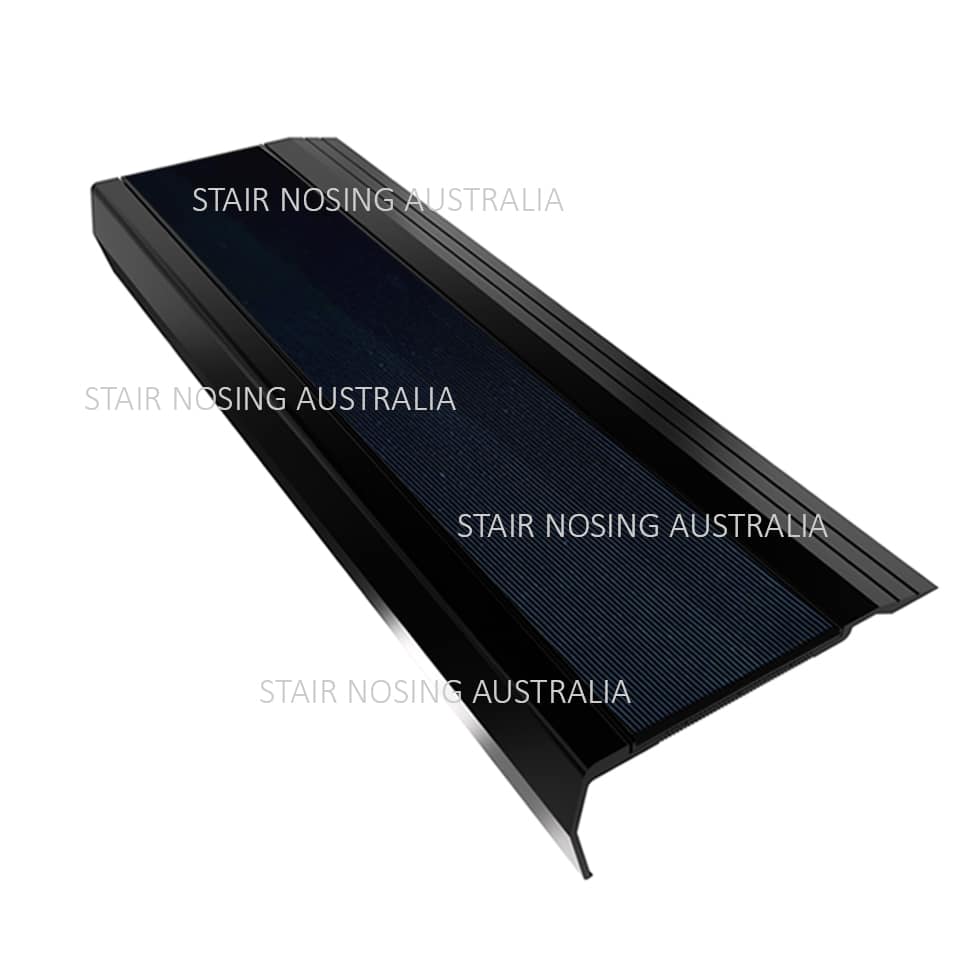
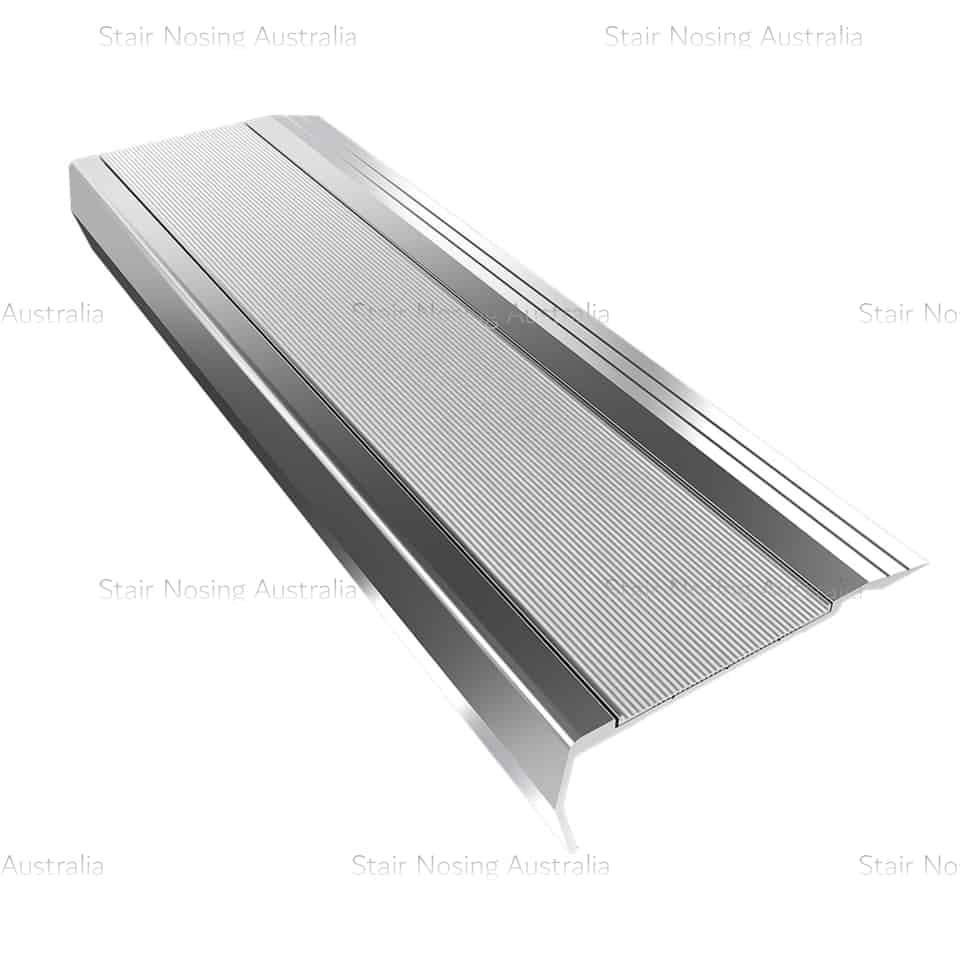
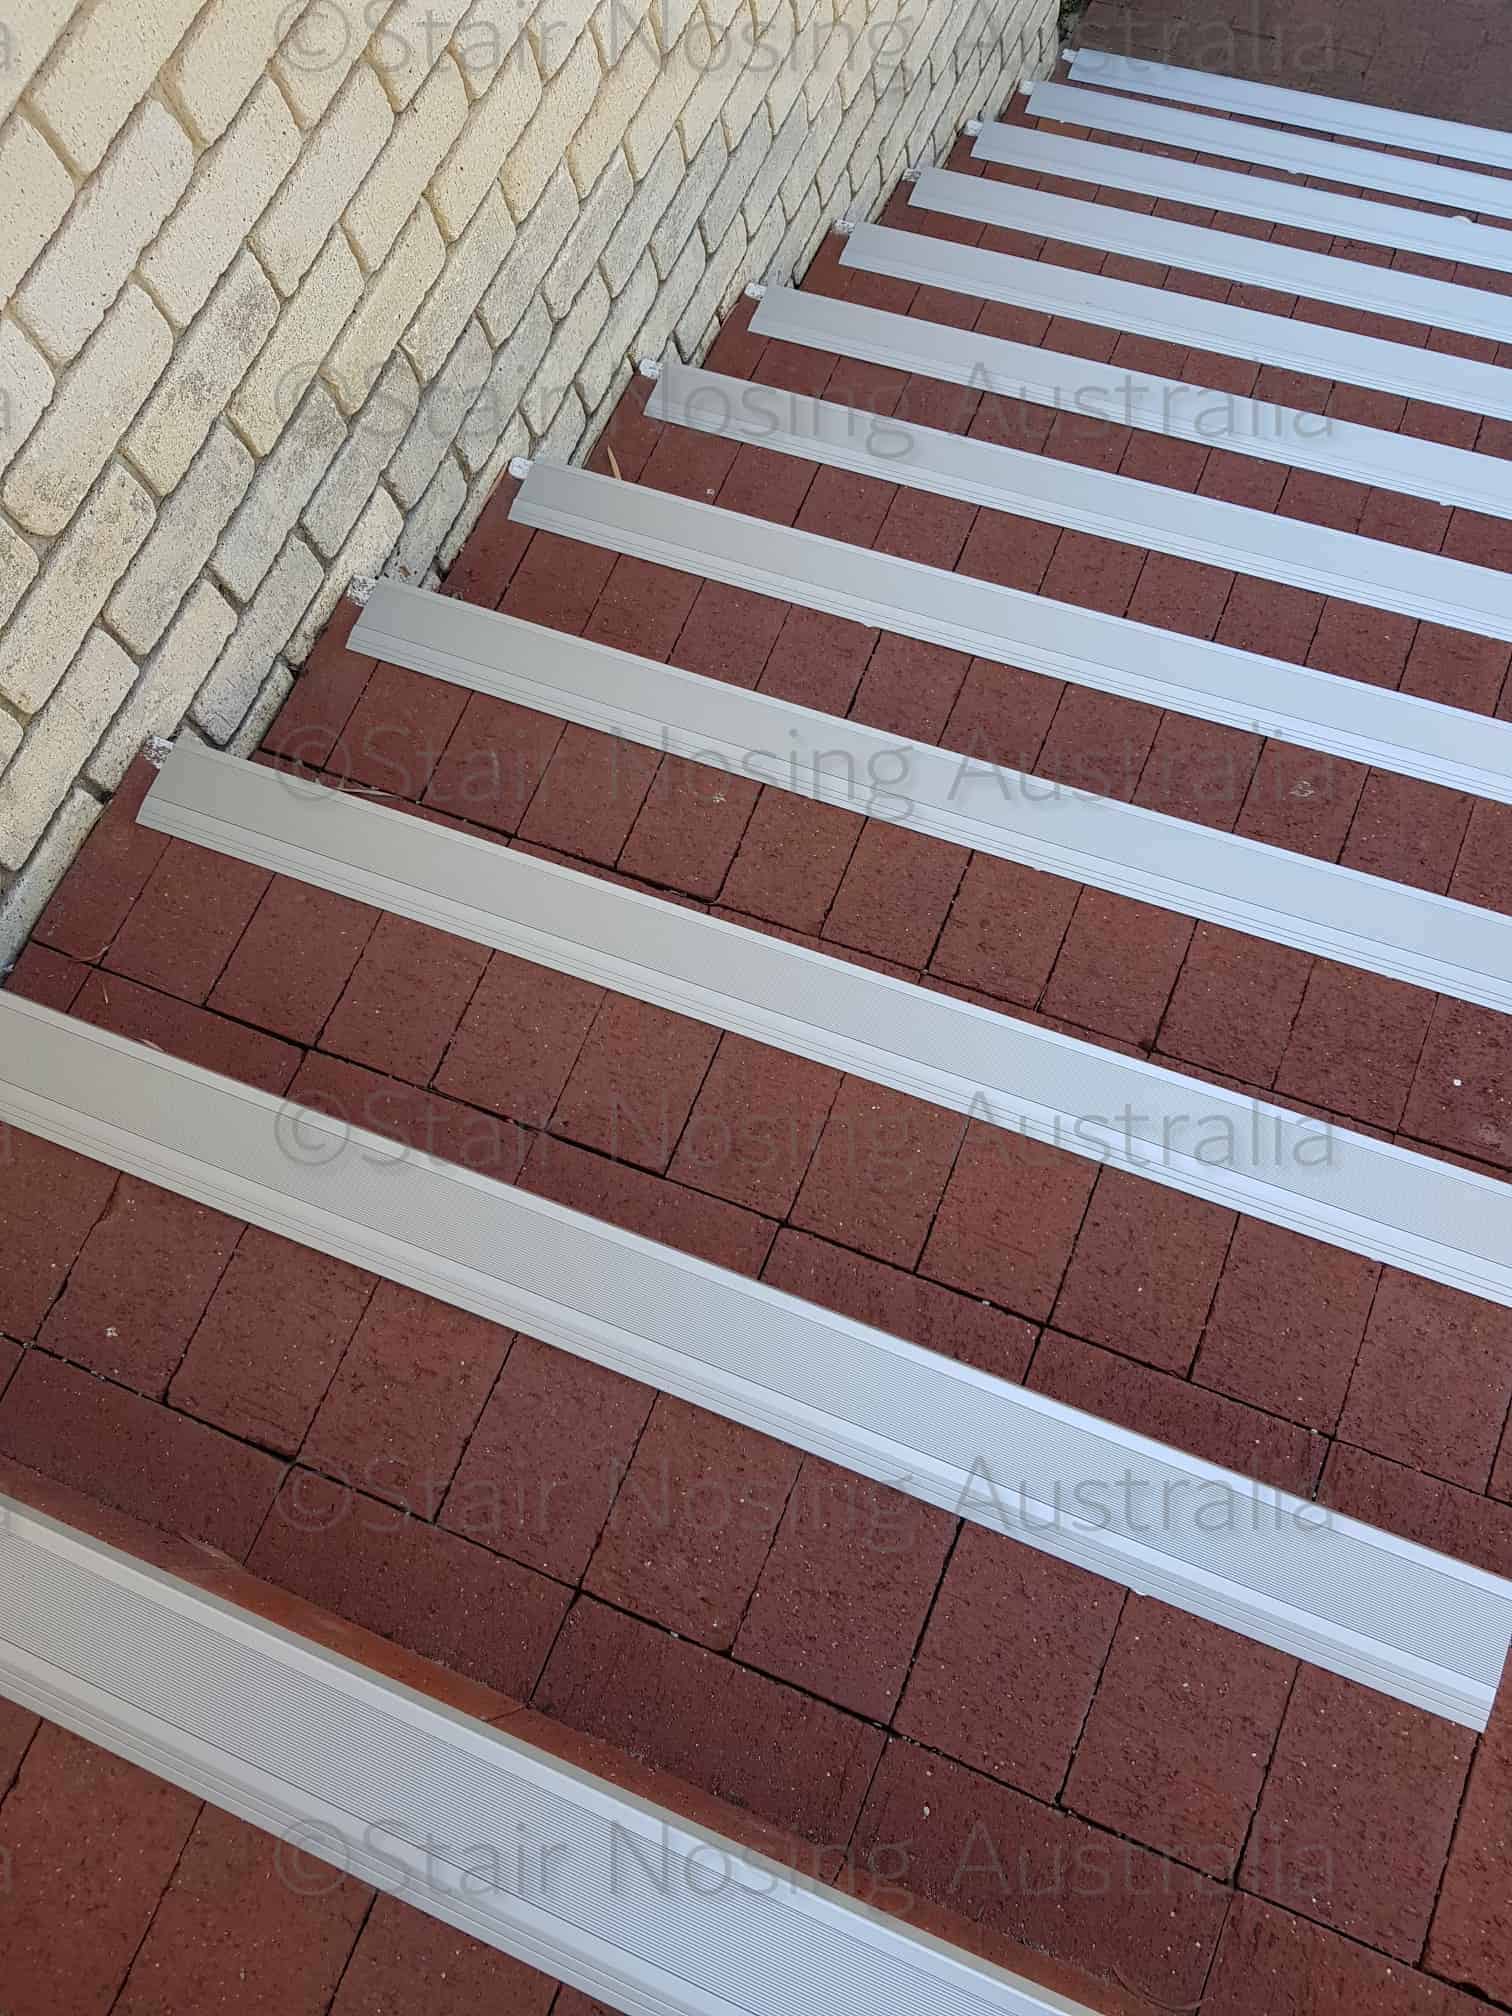
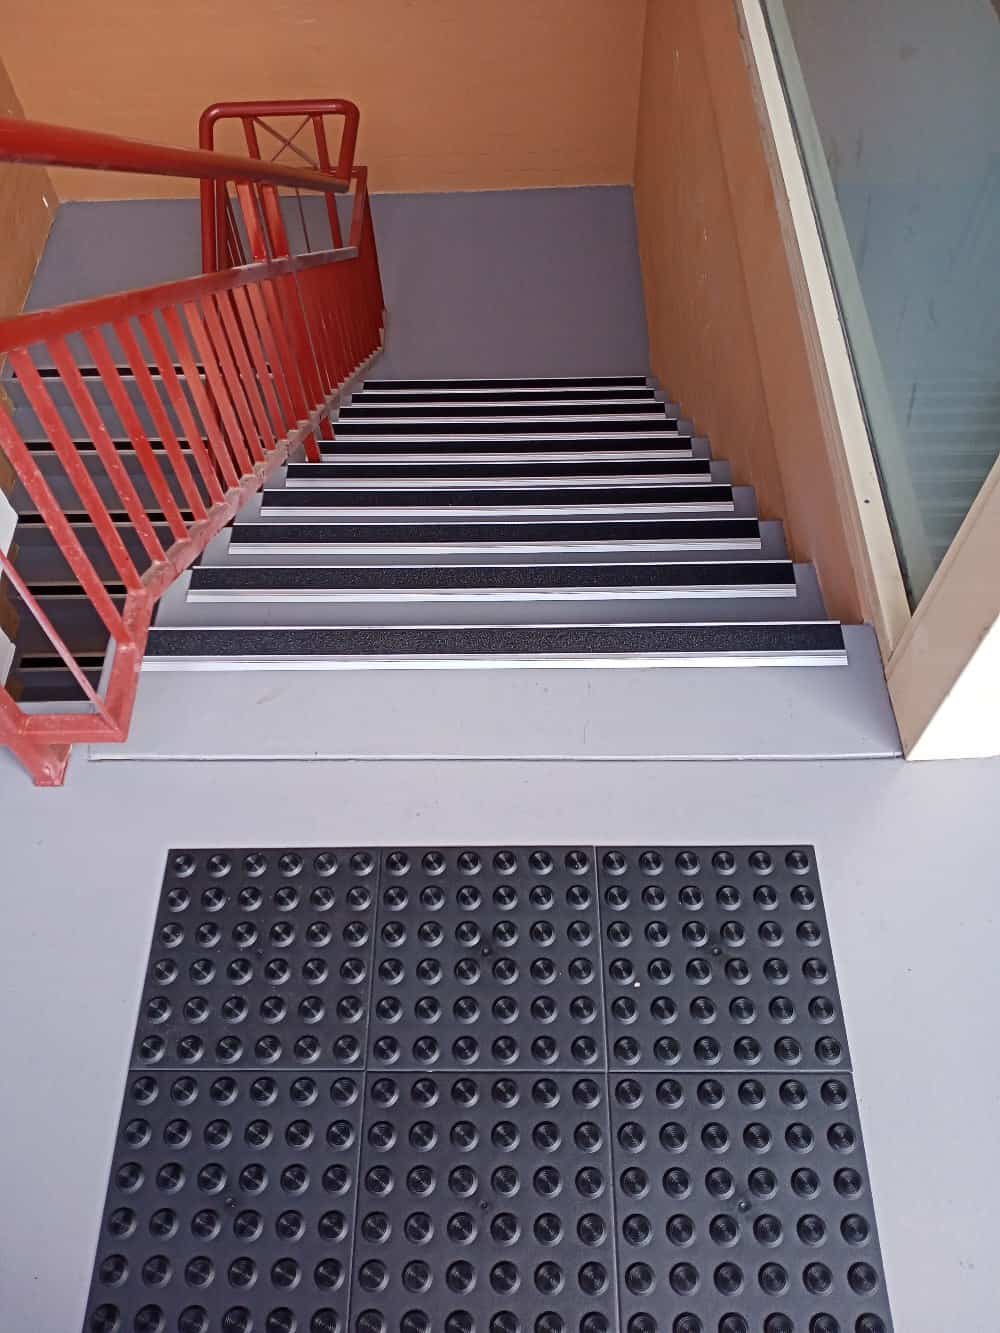
Stair nosing 15 series- is a wide stair nosing suitable for all surfaces such as bricks , pavers or concrete
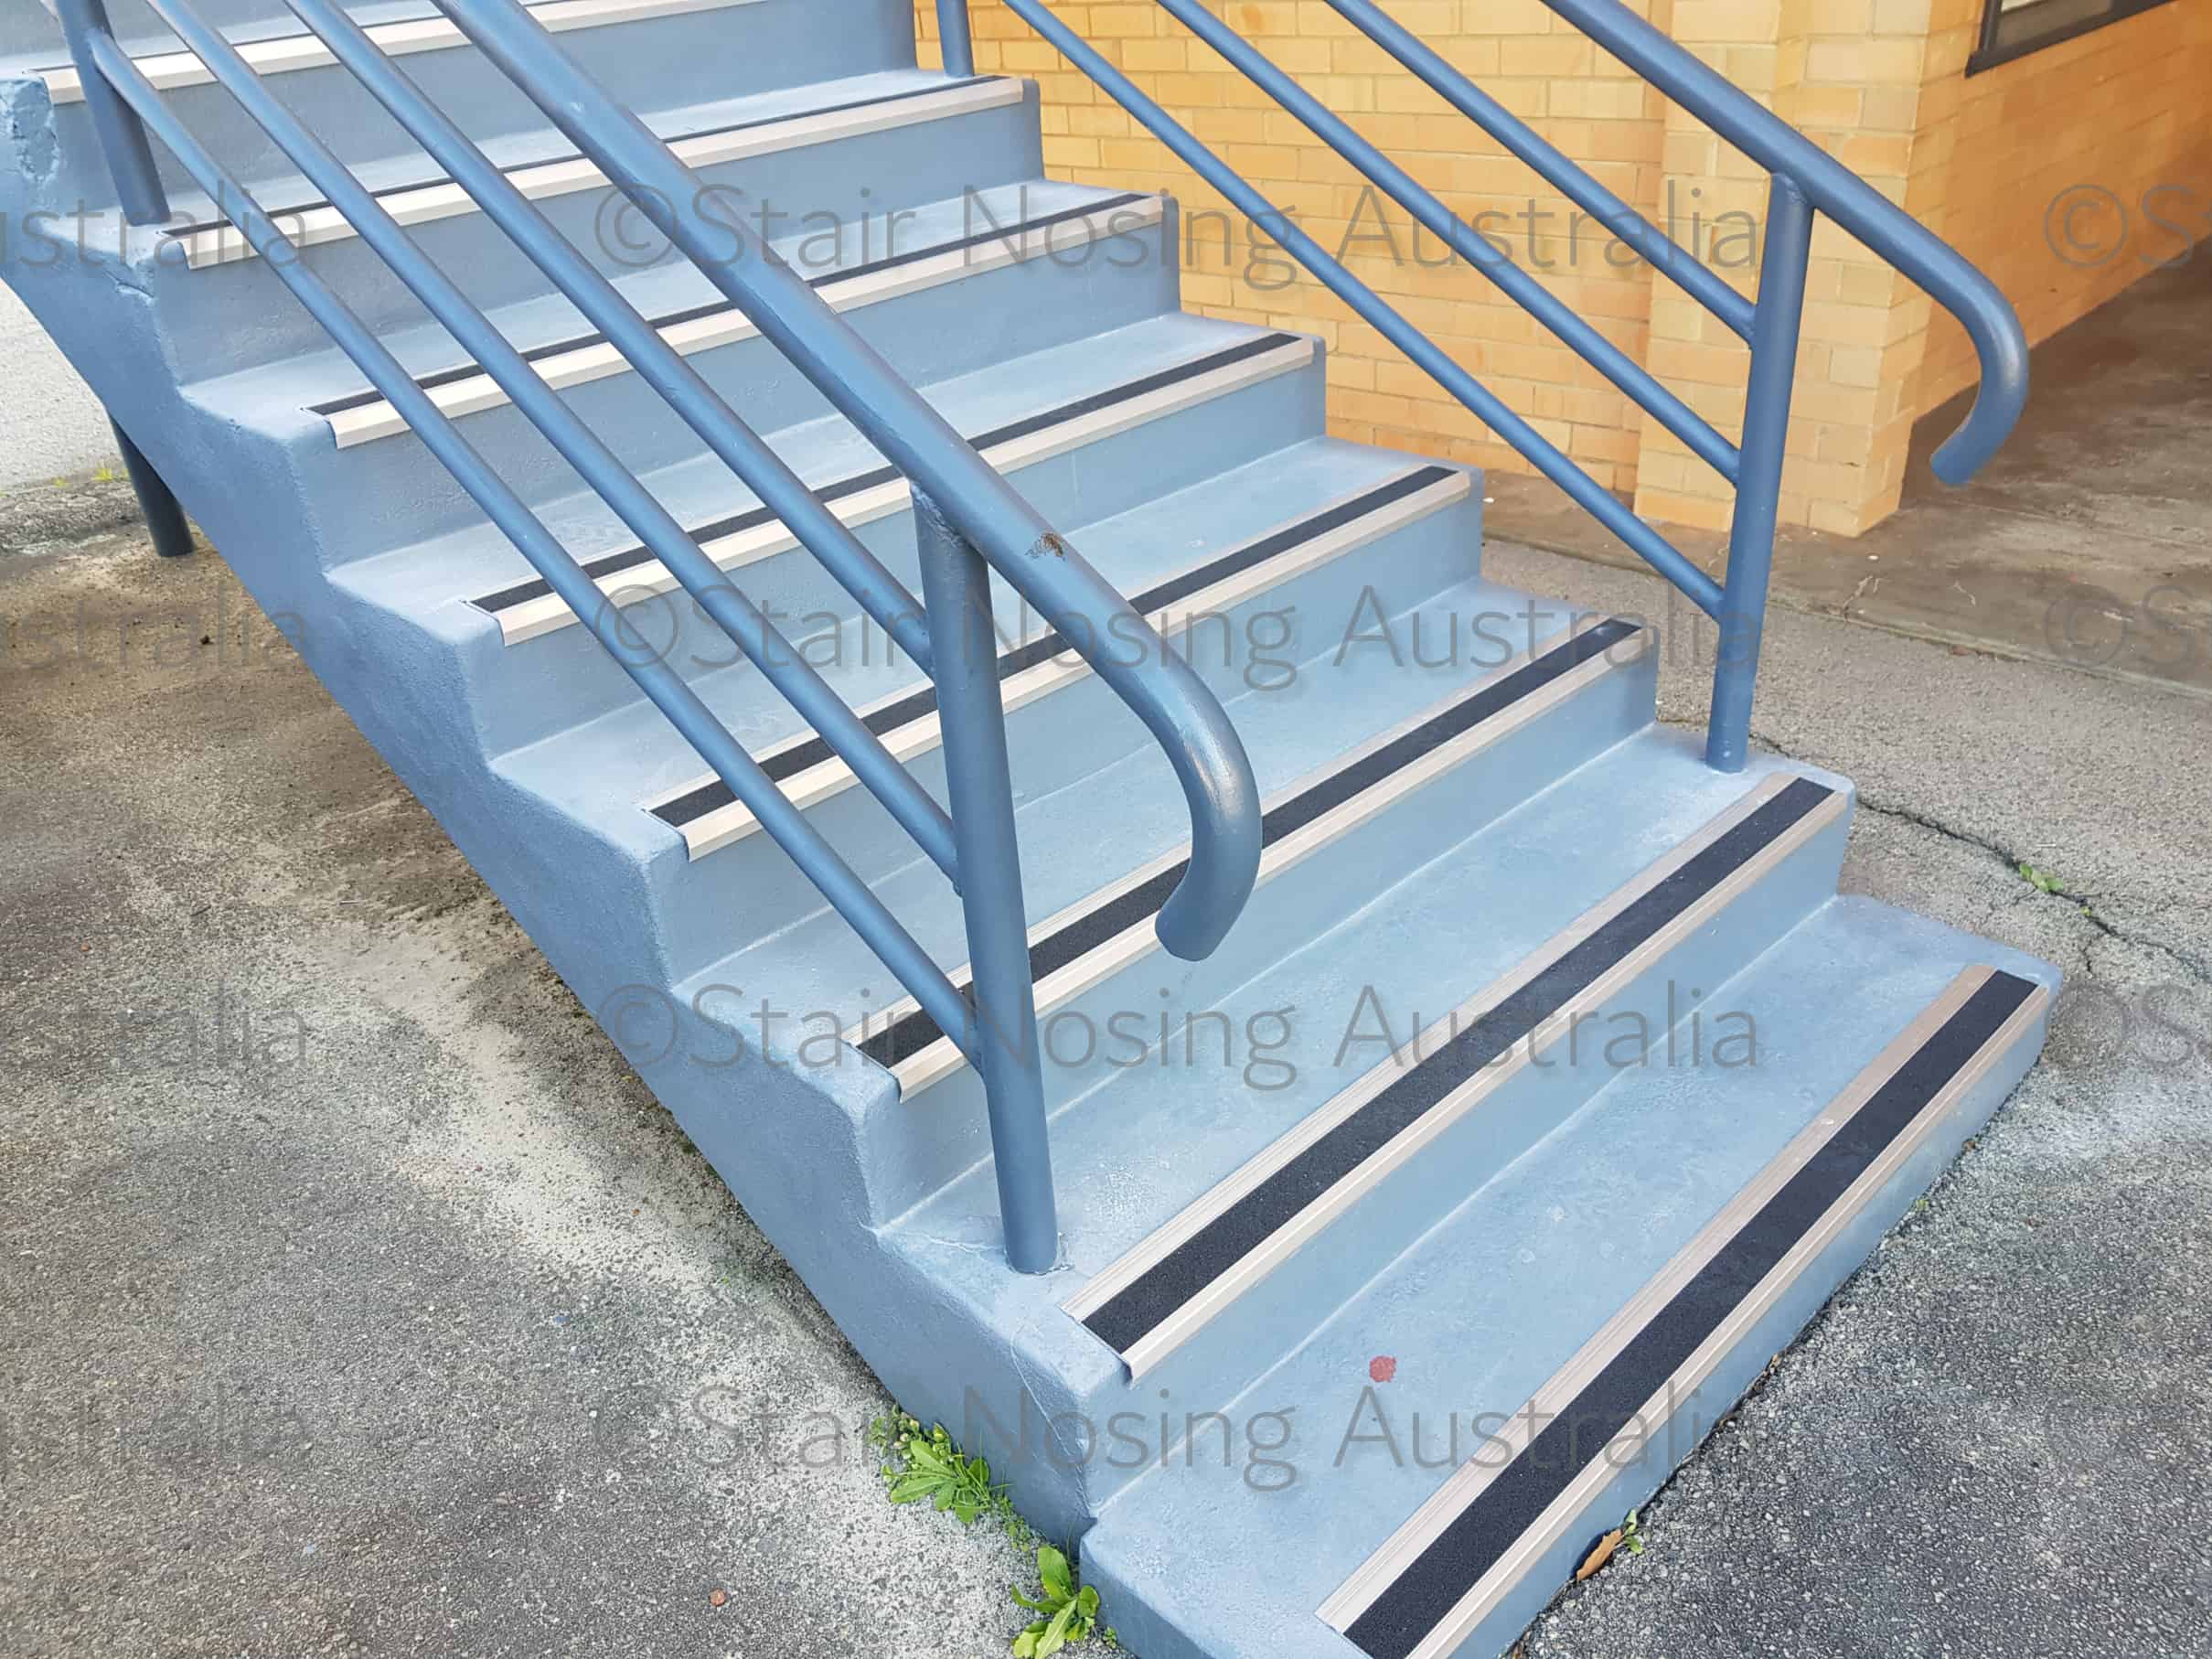
Our stair nosing, with its uniquely wide tread, offers unparalleled stability on step edges, ensuring maximum safety.
With a very wide tread this nosing provides maximum stability on steps edges.
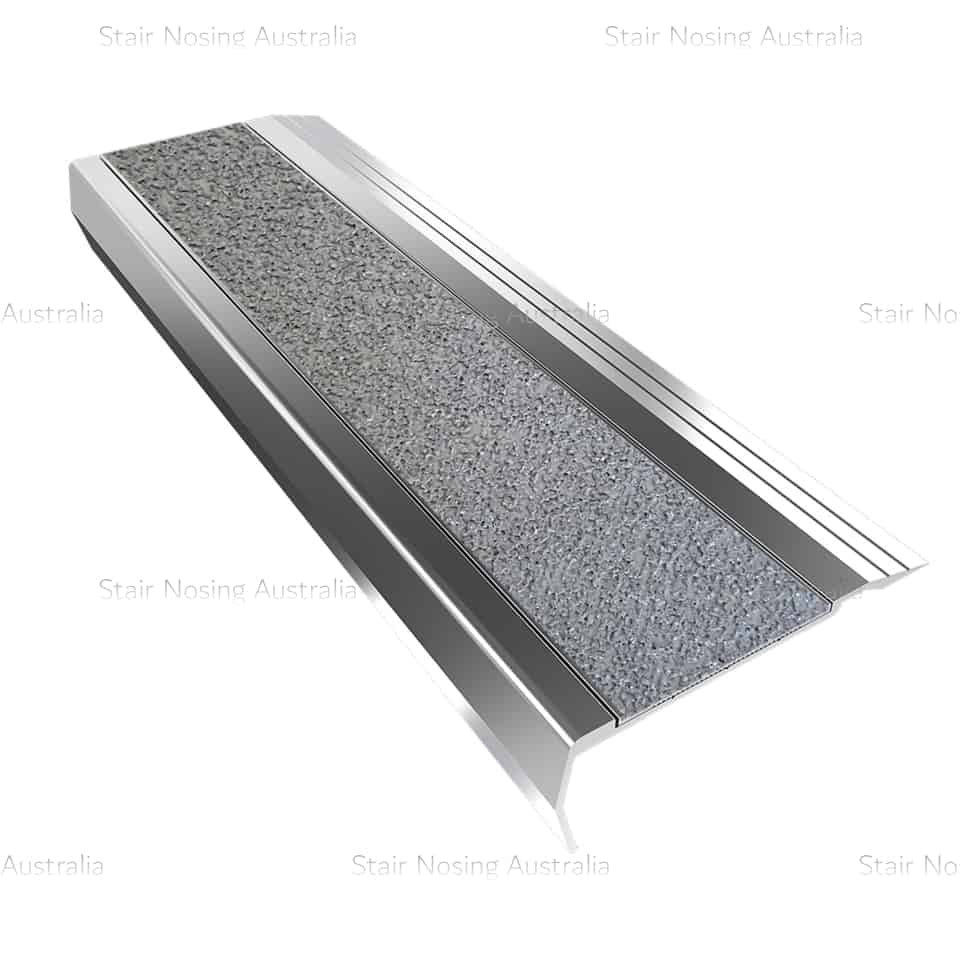
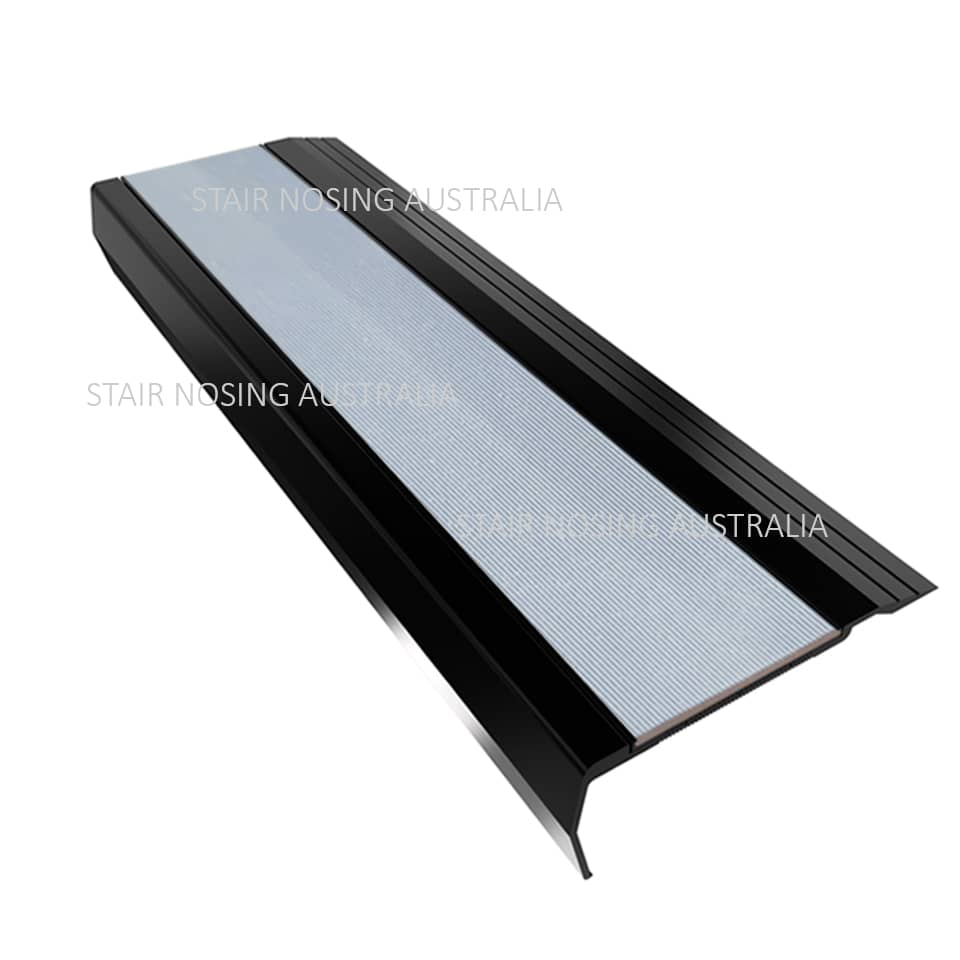
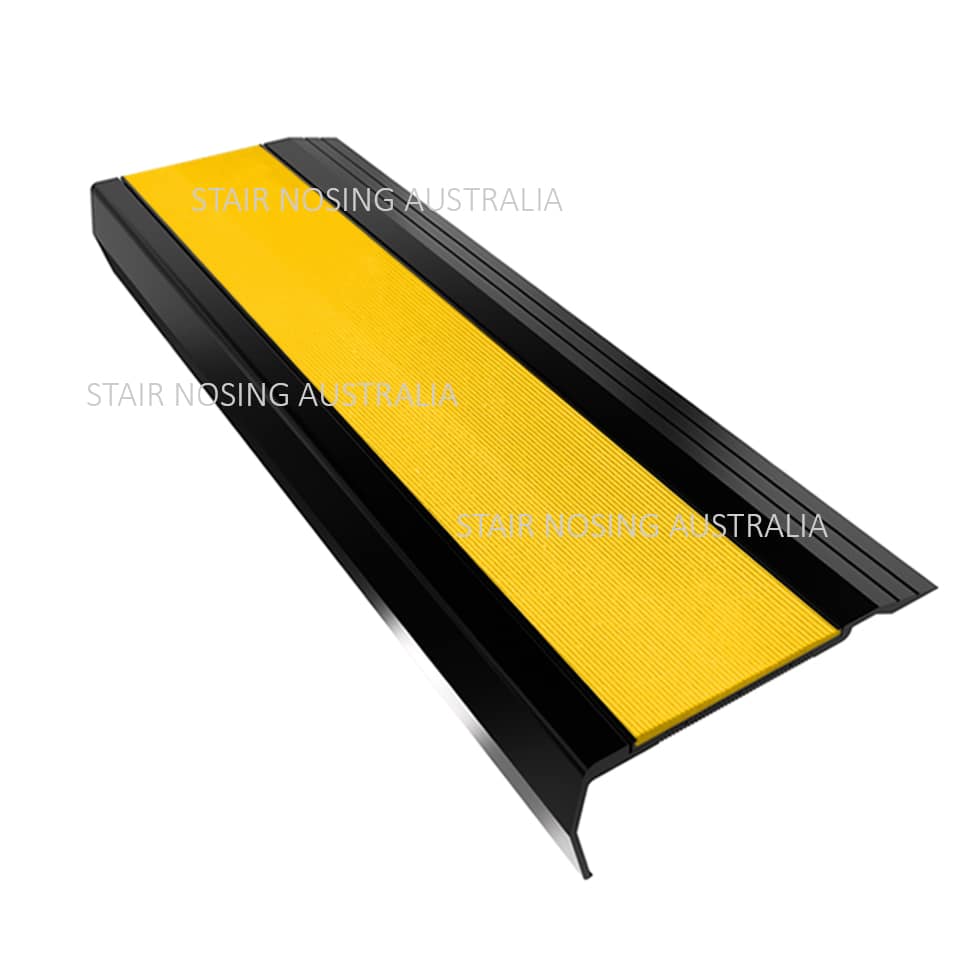
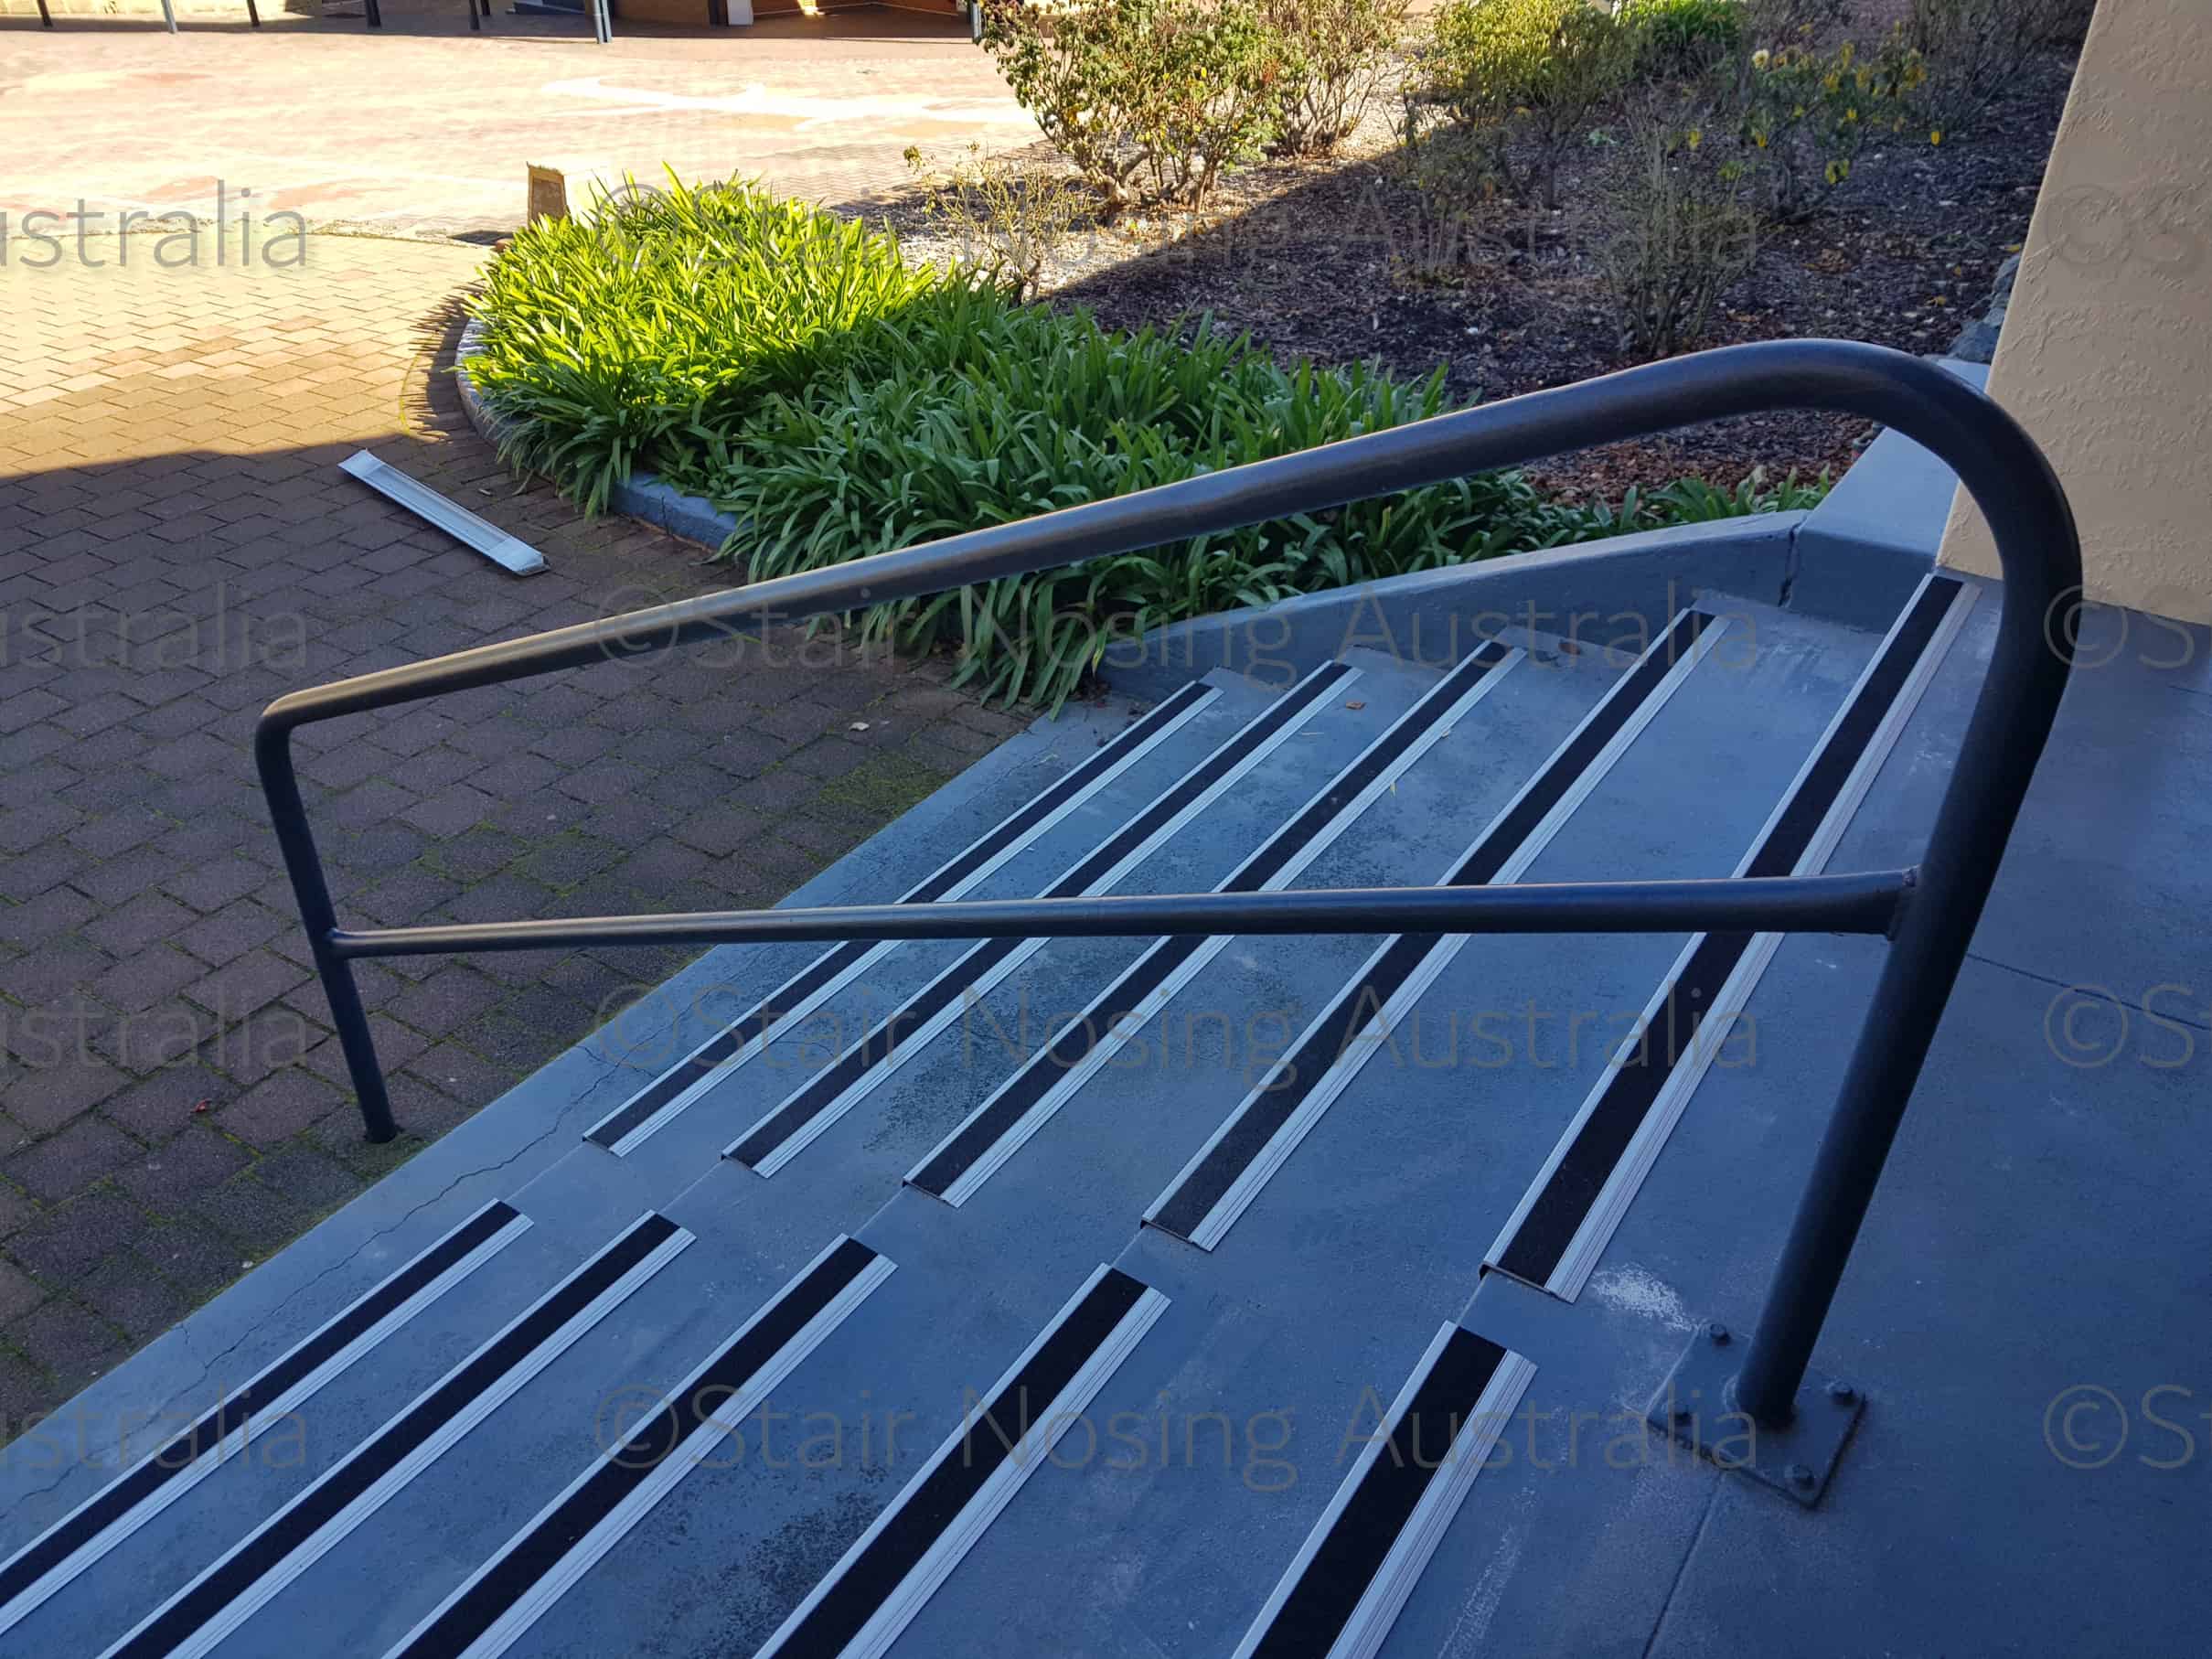
Steps, whether chipped, cracked, or bull-nosed, all benefit from the wider tread of this nosing. Even older sets of stairs with grooved tile or concrete edges find a perfect match in the 15 series stair nosing, suitable for pavers or bricks.
Any remedial repairs require a nosing that will cover the width of those grooves.
Our wide stair nosing, with its broad tread, is specifically designed to cover the width of grooves on bricks, pavers, and all outdoor steps-stairs, ensuring a safe and even surface.

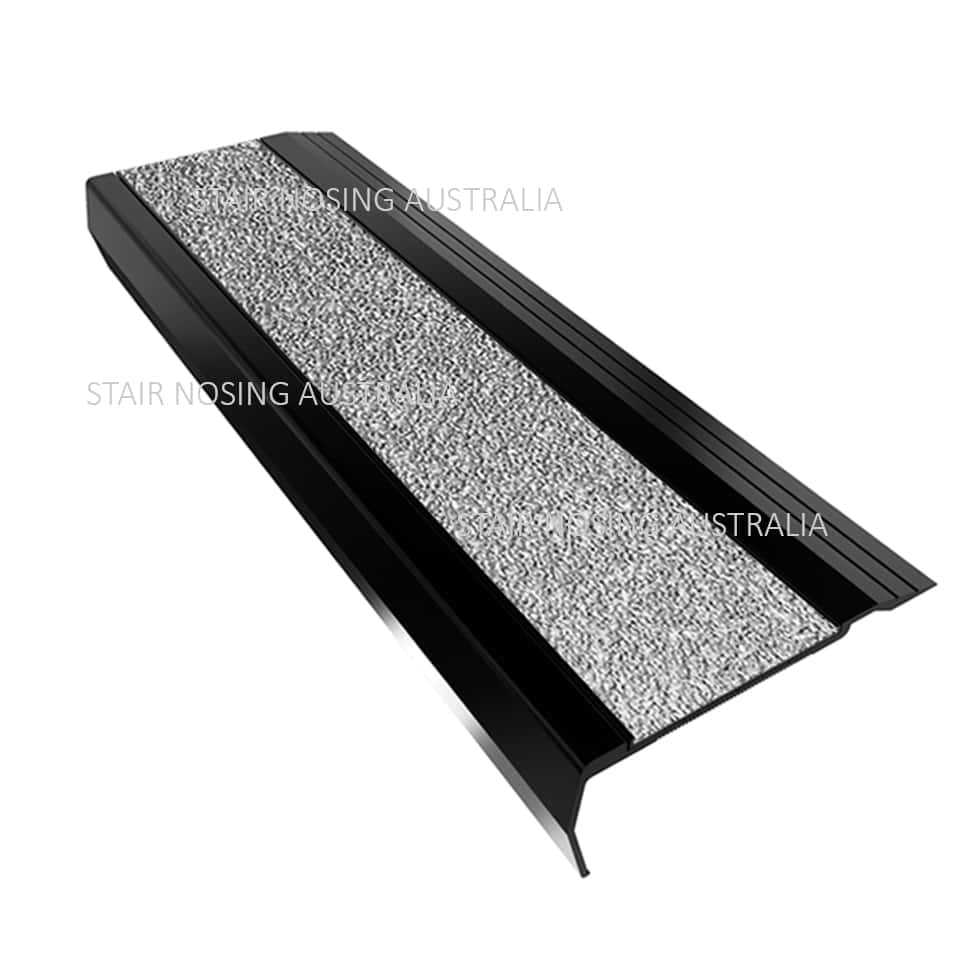
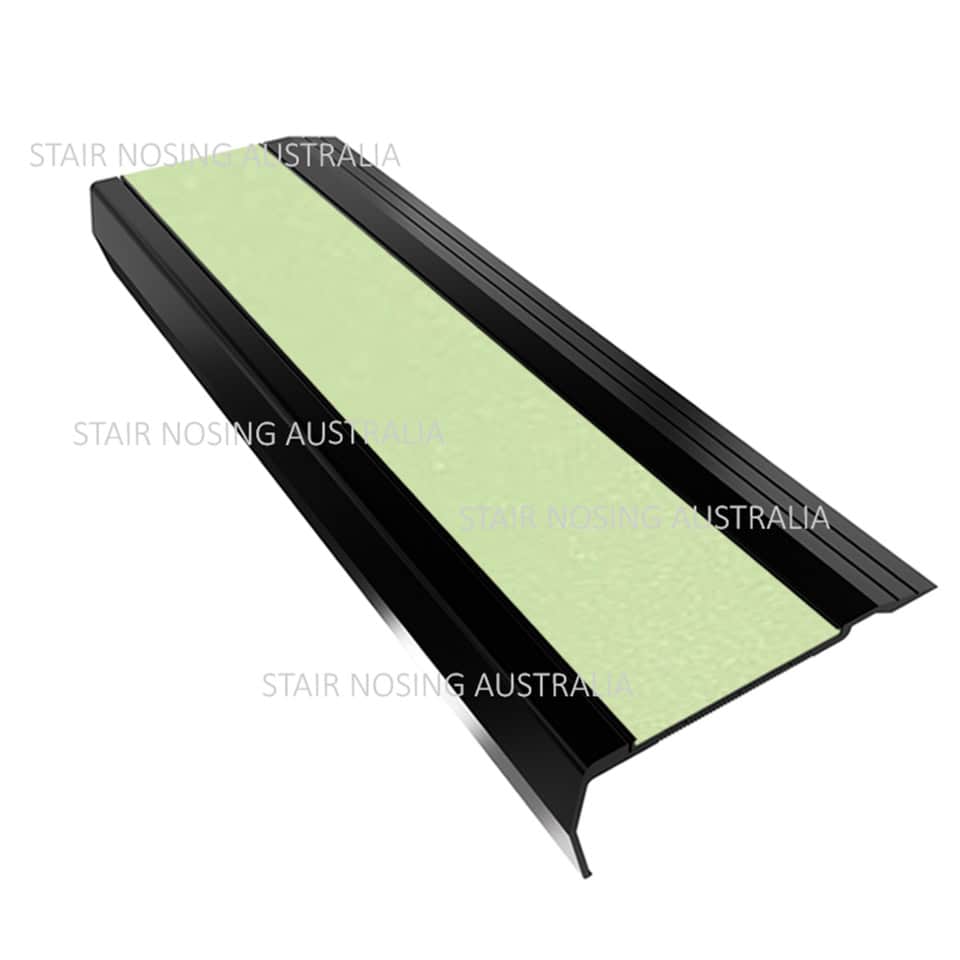
Wide stair nosing
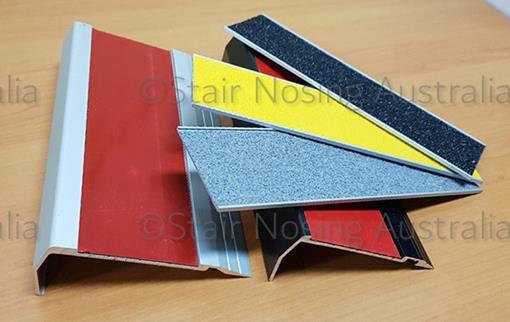
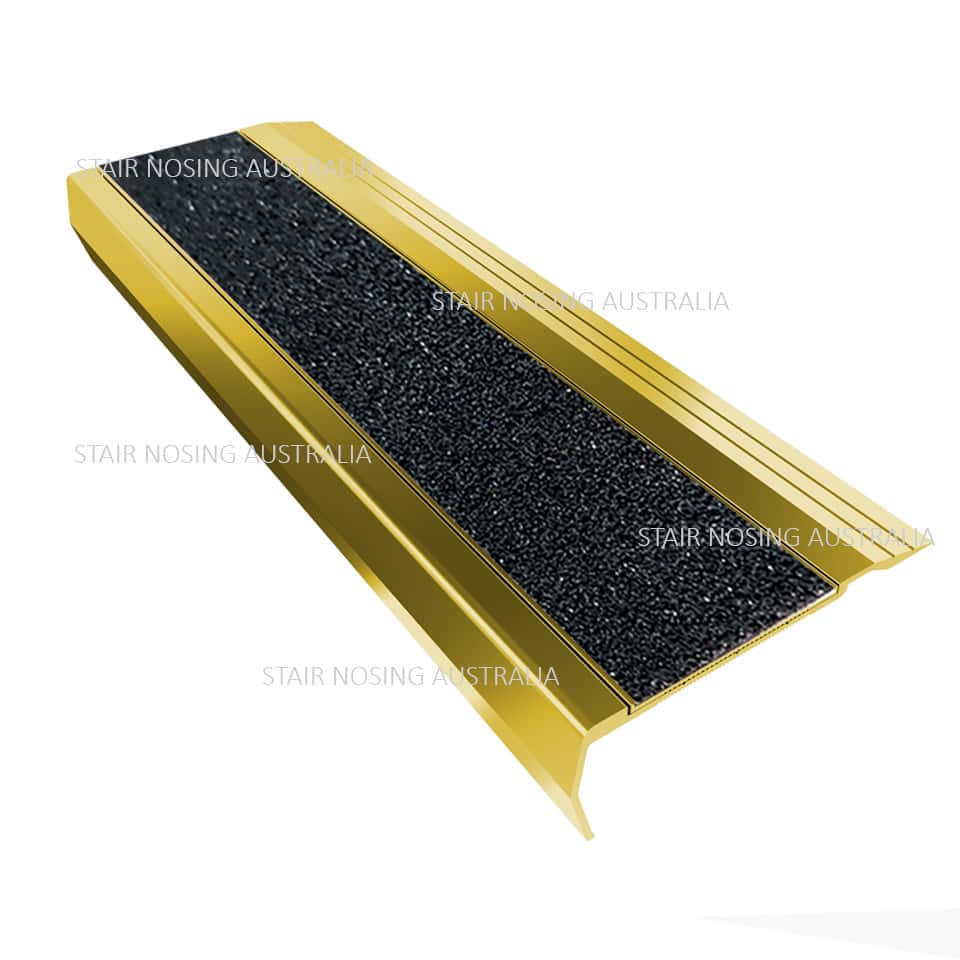
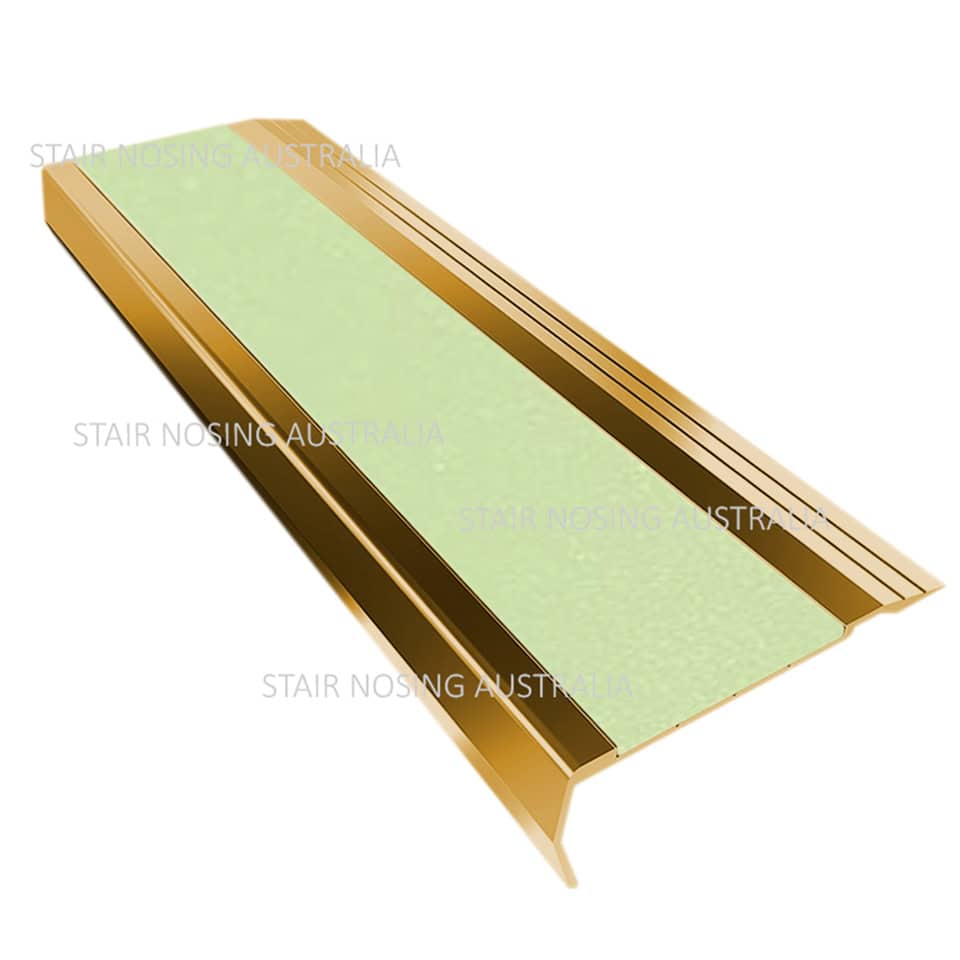
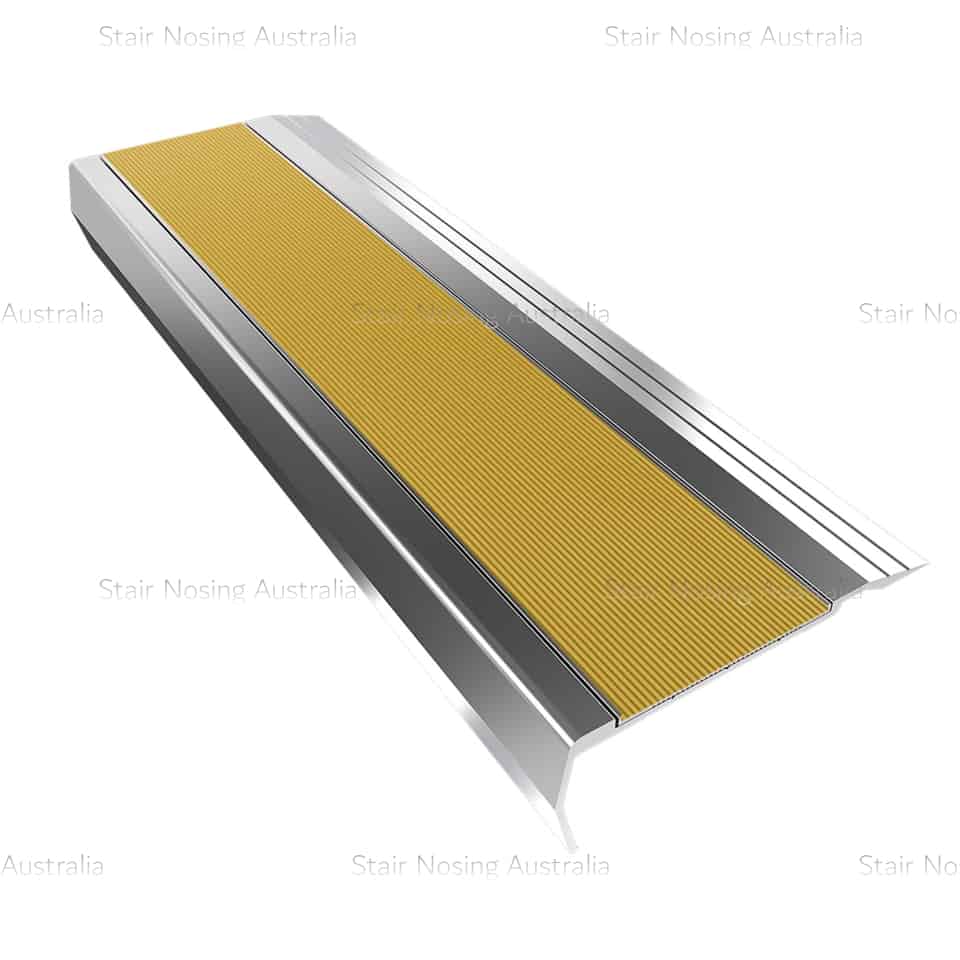
Carborundum inserts
Sovereign Gold bases are subject to a minimum order quantity.


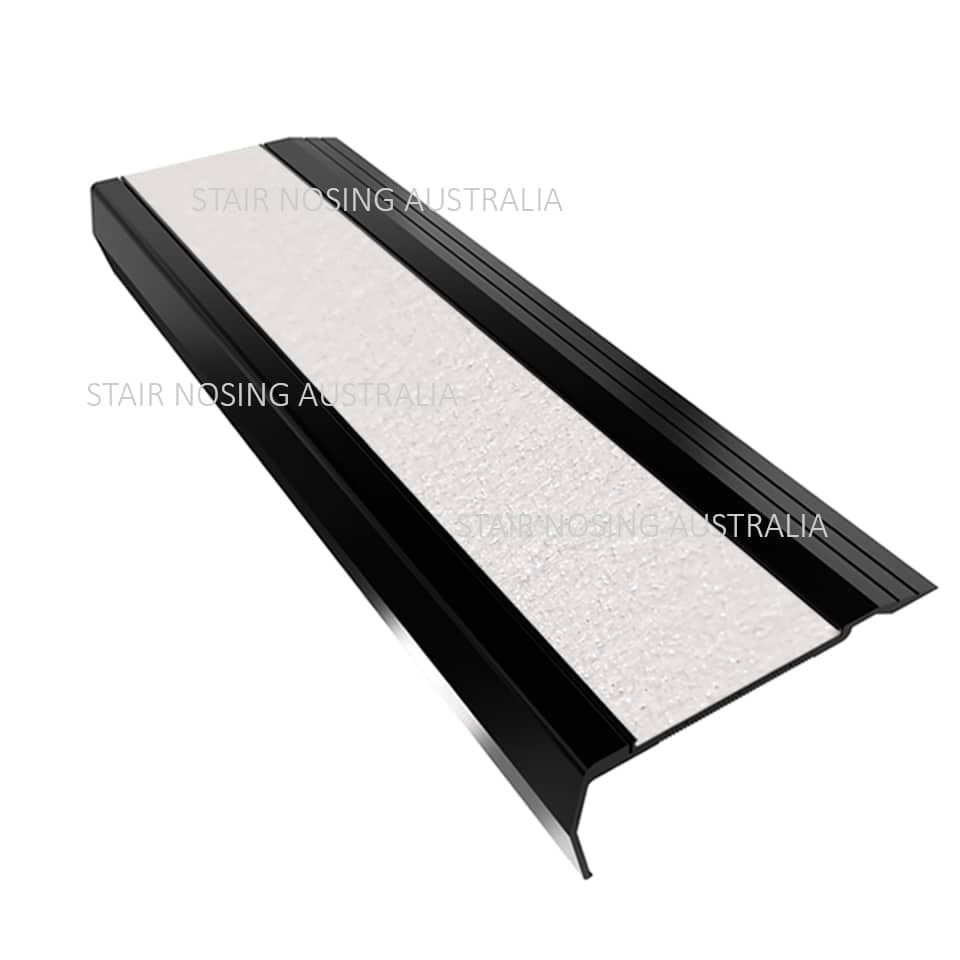

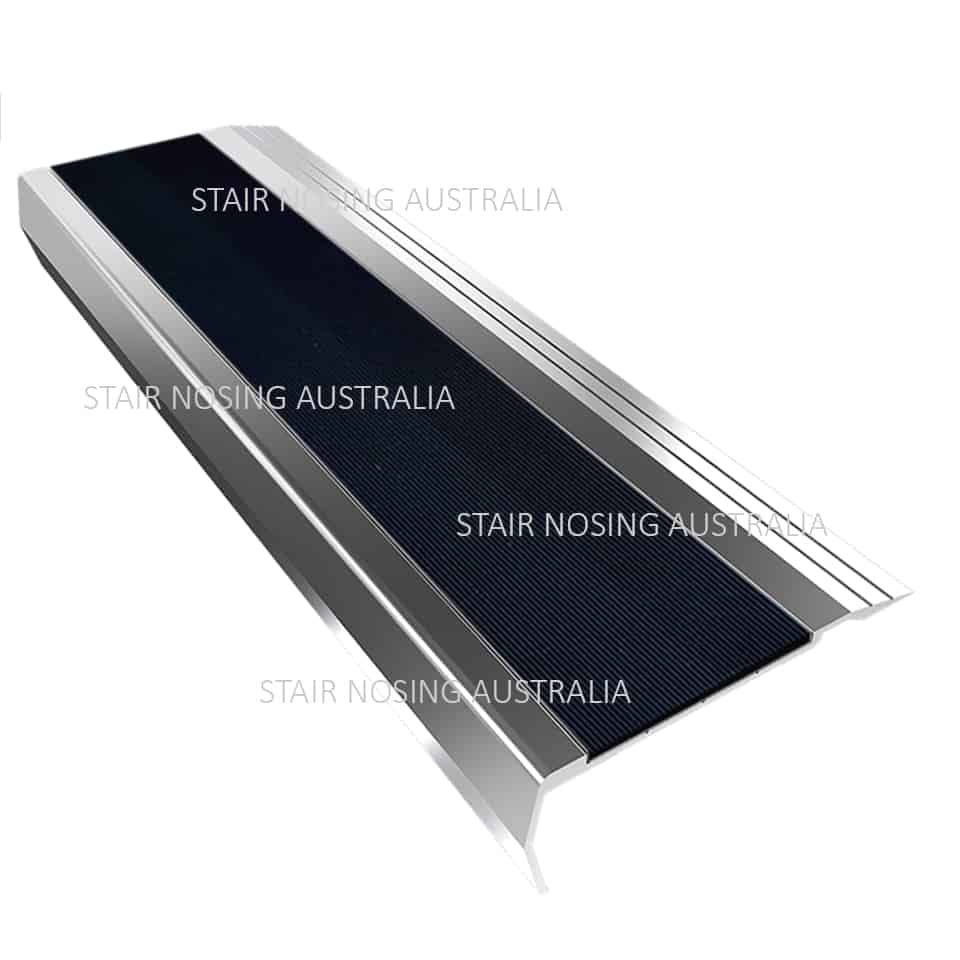
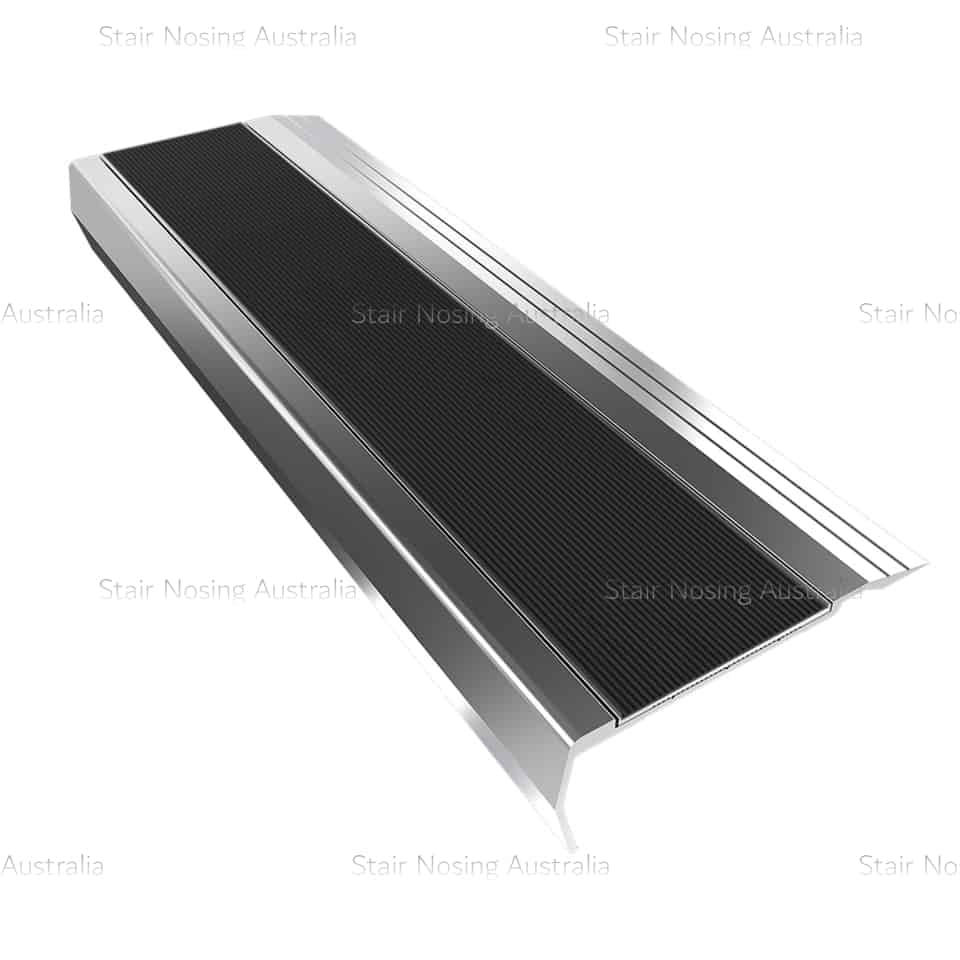
Santoprene rubber
Sovereign Gold bases are subject to a minimum order quantity.
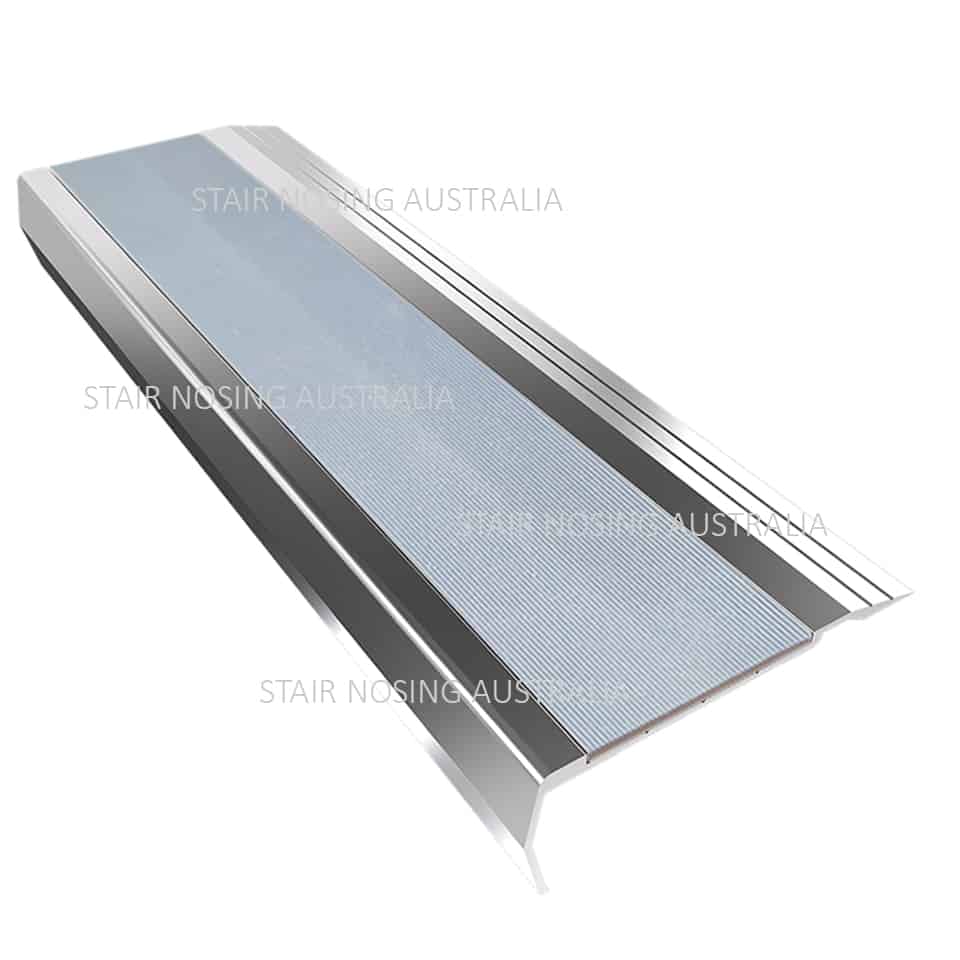
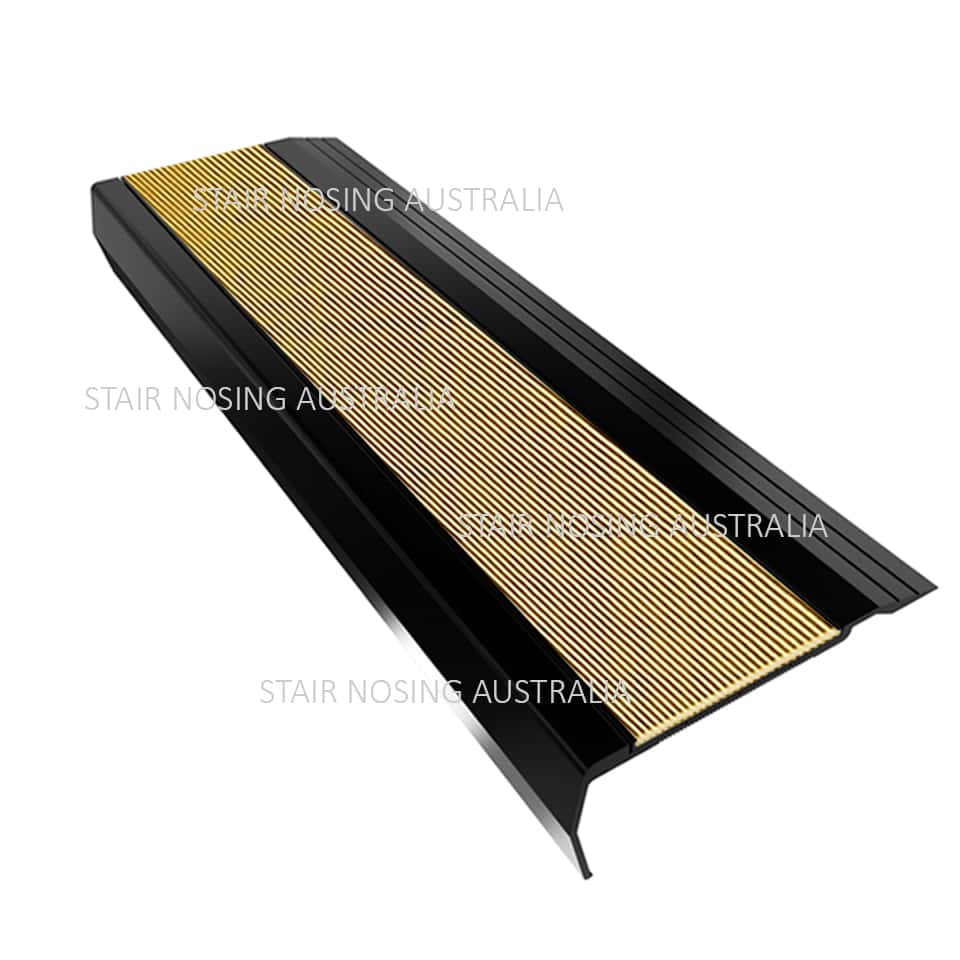
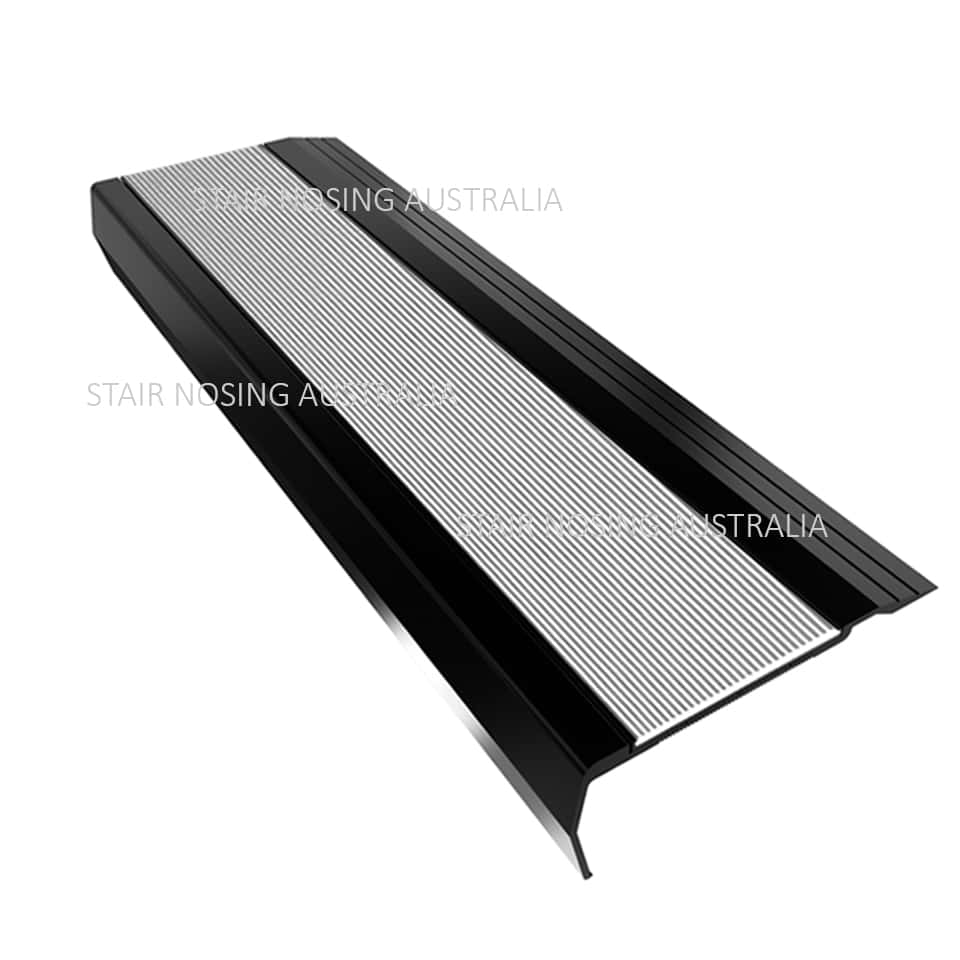
Ripple trim inserts
Sovereign Gold bases are subject to a minimum order quantity.

ORDERING
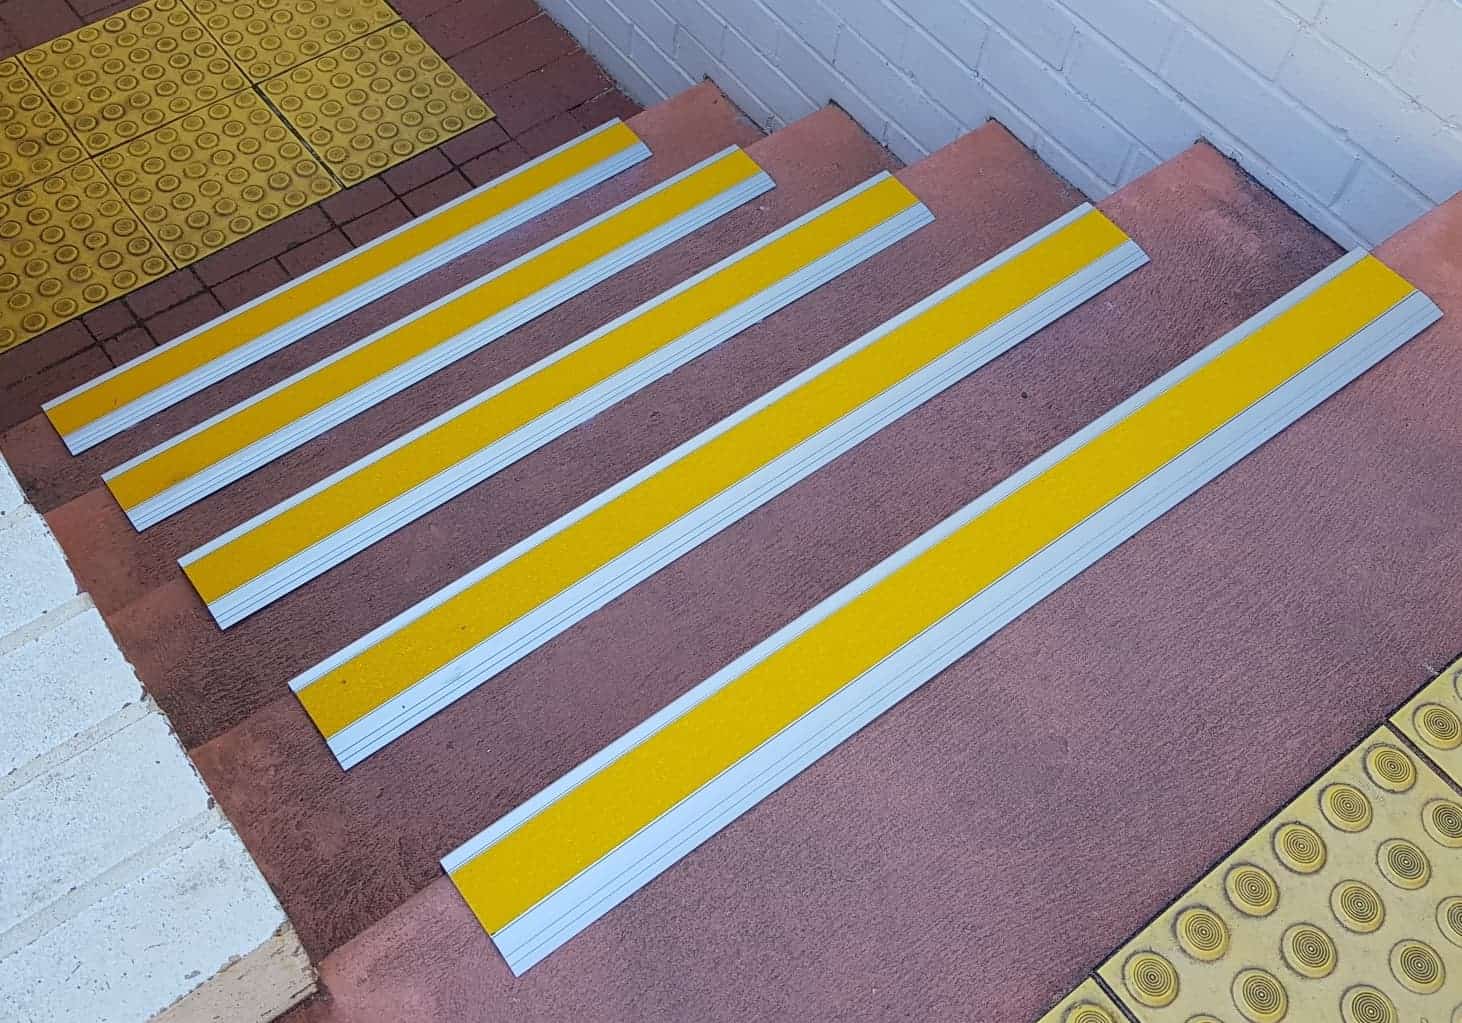
![]() Cut to size and countersunk
Cut to size and countersunk
We will cut to size and countersink the stair nosing for you; just provide us with your cutting list. You will not have to pay for wastage.
Additionally we will supply plugs and screws.
 While stair nosing can be conveniently ordered in lengths of up to 4.2 metres, it’s important to note that TNT applies a substantial fee for oversized freight and manual handling.
To manage costs effectively, we may want to consider shorter lengths or alternative shipping options.
HINT!
If you are not sure about the exact measurements, average the lengths giving yourself a margin for error. You may them choose to cut them to the exact width onsite.
INSTALLATION
Stair nosing for concrete and ceramic tiles.
 For mechanical fixings we recommend 12-gauge stainless steel screws suitable for countersinking. SUPPLIED WITH PLUGS AND SCREWS.
All grease, dirt and sand must be removed from step edge. Loose paint, and powdery concrete must be removed and steps made firm. Painted steps may need to be “scratched/sanded” to be able to form a bond with the adhesive.
Any issues which may affect the stability or strength of the stair nosing must be addressed and corrected prior to installing any stair nosing profile.
If you wish to glue the stair nosing we recommend Soudal Fix All Hi-Tack adhesive. It needs to be applied in a snake like fashion to the back of the nosing.
t is very important to know that if the adhesive “bleeds” on the edge of the nosing, WAIT for it to dry for several hours; then blade scrape it off.
PRODUCT DATA SHEETS
GALLERY

VIDEOS


